
Items
Sil and the Fading World item database — browse all legendaries and heirlooms with drop sources and best-in-slot recommendations.
Introduction
Sil and the Fading World features 100+ unique items divided primarily between Legendary and Heirloom rarity tiers. Legendary items feature build-defining unique effects that encourage playaround strategies. Heirloom items scale with character level, remaining relevant even as content difficulty increases. Both types support deep crafting and material enhancement. Items serve as the most visible expression of your progression through the world of Aritas. Legendary items with build-defining unique effects incentivize specific play patterns around their mechanics, while Heirloom scaling ensures your investment in early finds never becomes entirely worthless. The item system rewards thorough exploration and dedicated farming — many powerful pieces hide behind challenging content or from obscured locations within the dungeon network. Understanding drop sources, stat ranges, and upgrade paths transforms the item system from random loot chaos into a targeted progression tool.
Items Quick Reference
| Tier | Rarity | Source | Key Trait |
|---|---|---|---|
| S | Legendary | Raid Boss / Abyss Unique | Build-defining effects |
| A | Legendary | Abyss Dungeons Tier 5+ | Encourage playaround |
| B | Heirloom | Crafting / Dungeons | Scaling properties |
| C | Rare | General Loot | Early progression |
Item Profiles
Darkfang Blade
Legendary Sword — drops from Yoggus the Devourer
Soulreaper Edge
Legendary Dagger - Cursed Catacombs boss drop
Voidshard Amulet
Legendary Accessory - Abyss Gate exploration relic
Shadow Plate Armor
Heirloom Chest - Crafts and dungeon drops
Core Mechanics
Items drop through boss encounters, dungeon exploration, and general loot tables. Legendary items feature rare build-defining effects with low drop rates. Heirloom items scale power with character level progression. Crafting stations allow upgrading equipment with materials gathered from defeated enemies. Set bonus effects activate when equipping multiple pieces from matched themed equipment sets. Materials drop according to enemy tier, with higher-level enemies and bosses providing more valuable crafting components needed for enhancement, reforge, and perfect crafting actions at crafting stations. Legendary item drops remain intentionally rare to maintain the excitement of acquisition while Heirloom drops provide more reliable baseline power. Set bonus effects activate when you equip multiple items from matched themed equipment sets, encouraging partial sacrifices in individual item quality to access the additional multiplier. Crafting upgrades at stations allow you to extract material value that would otherwise be wasted from gear you outgrow without the corresponding crafting investment.
Advantages
A focused item database prevents farming the same sources repeatedly by identifying which bosses drop which item categories. Knowing source zones and targeted drop tables saves dozens of hours of ineffective grinding. A comprehensive item database prevents the frustration of repeatedly farming the same content hoping for drops that the target source does not actually include. Knowing exact source zones and boss-specific drop tables enables targeted farming runs that maximize yield per hour invested. Understanding stat ranges and upgrade potential lets you make informed upgrade-or-sell decisions immediately rather than holding onto underperforming pieces. Set bonus knowledge reshapes equipment selection from pure item-level chasing into strategic set completion that frequently outperforms higher-item-level mismatched alternatives.
Challenges
Legendary drop rates are intentionally low — farming can become tedious, and some rare items require Abyss dungeon tiers that are themselves demanding. Item RNG remains frustrating even with comprehensive data about source locations. Legendary drop rates remain intentionally aggressive and low to maintain long-term farming goals that sometimes conflict with enjoyment. Specific build-defining Legendaries may require dozens of targeted boss runs to acquire depending on RNG variance, making some builds feel locked behind frustrating RNG walls. Abyss high-tier content required for certain exclusive items is itself extremely demanding, creating a two-layer barrier of difficulty and RNG for the most powerful pieces. Additionally, item availability expands substantially at full game launch meaning current databases will require significant revision to capture the expanded item pool and new drop sources.
Frequently Asked Questions
Can I trade items with other players?+
What are set bonuses?+
Quick Tips
Target specific Abyss tiers for guaranteed first-time boss item drops — don't rely on random loot tables for essential legendaries. — Target specific Abyss tiers that guarantee your desired boss item first-time drops rather than relying on the low-percentage loot tables for essential legendary gear. Time invested in clearing the correct Abyss tier returns faster than farming regular boss runs at normal difficulty for extended periods.
Heirloom items are always valuable long-term investments due to their scaling properties — upgrade them before crafting new gear. — Always upgrade heirloom items before committing crafting materials to new rare gear purchases because heirloom scaling makes them relevant across the entire game progression timeline. Investment in heirloom upgrades pays continuous dividends rather than facing the obsolescence risk that comes with temporary rare upgrades.
Always check whether a boss drops specific soul crystals (needed for relics) alongside gear. — Check whether a target boss drops necessary soul crystals alongside its gear loot table before committing farming time. Soul crystal collection is equally important to gear acquisition since crystal selection fundamentally determines your build capability ceiling.
Crafting can bridge gap tiers while farming Abyss content. — Use crafting enhancement actions as a bridge between current gear state and your next Abtier upgrade target. Crafting makes use of otherwise-wasted drops to maintain consistent power progression while continuing to farm higher-tier content for the ideal long-term pieces. Bridgegear crafting makes strategic sense between upgrade tiers to smooth out damage progression curves during extended farming sessions.
Featured

Sil and the Fading World all items complete database guide
Browse the complete Sil and the Fading World all items catalog covering legendary and heirloom weapons, armor sets, accessories, and rarity tiers.

Sil and the Fading World item drop locations guide
Hunt with precision using this Sil and the Fading World item drop locations guide covering boss loot tables, farming routes, and rare drop source mappings.

Sil and the Fading World rare items and hidden equipment guide
Chase every treasure with this Sil and the Fading World rare items guide covering epic drops, mythic affixes, visual style tiers, and item sink farming tips.
All Articles

Sil and the Fading World item farming routes guide
Plan smarter Sil and the Fading World item farming routes using rarity tier breakdowns, set bonus synergies, item level milestones, and heirloom unlock paths.
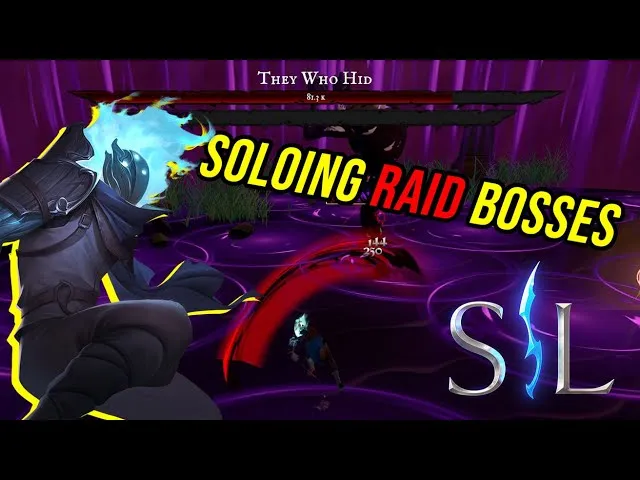
Sil and the Fading World item trading and economy guide
Master the economy with this Sil and the Fading World item trading guide covering market values, fair trades, supply and demand shifts, and merchant update cycles.
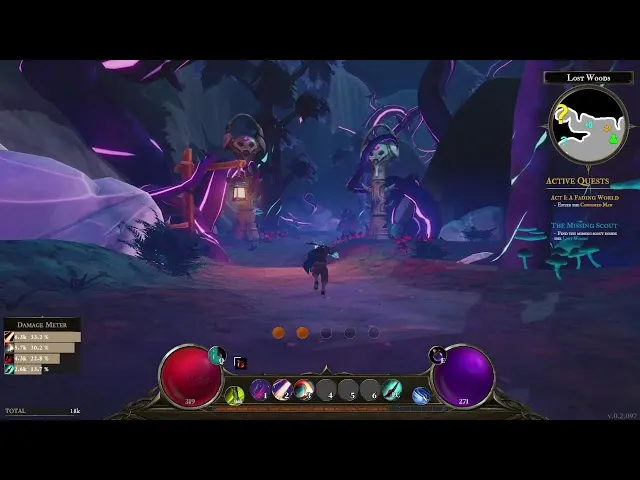
Sil and the Fading World legendary farming guide and targets
Target the top tier with this Sil and the Fading World legendary farming guide covering boss reset tricks, drop rate stacking, and guaranteed acquisition methods.