
Dungeons
Sil and the Fading World dungeon guides — conquer the Darkwood zone and push your limits in the infinite Abyss challenges.
Introduction
Dungeons in Sil and the Fading World range from the initially accessible Darkwood surface zone to the infinitely-scaling Abyss nightmare mode. The surface zone teaches core mechanics and enemy patterns while Abyss dungeons provide unlimited difficulty progression for endgame players. Each dungeon run requires careful build planning — difficulty ramps quickly and the Game Over penalty is severe at higher tiers. Dungeons form the backbone of both character progression and material farming in Sil and the Fading World. The journey from the relatively gentle Darkwood surface tutorial zone through the gauntlet of the Cursed Catacombs to the infinitely punishing Abyss Gate dungeons mirrors the player own progression arc from complete newcomer to hardened endgame veteran. Each dungeon zone demands increasingly sophisticated build preparation, with the Abyss tier system ensuring there is always a difficulty ceiling to push against regardless of how optimized your character becomes. Choosing the right tier for your current build state is itself a skill — overreaching wastes time on failed attempts while under-challenging tier selection leaves valuable materials undropped.
Dungeon Quick Reference
| Zone | Enemies | Reward | Scaling |
|---|---|---|---|
| Darkwood Surface | Tutorial-level | First relics, skill points | Fixed |
| Cursed Catacombs | High-density | Soul crystal fragments | Boss-gated |
| Abyss Gate | Multi-tier scaling | Legendary mats, prestige | Infinite |
Dungeon Zone Cards
Darkwood Surface Zone
Entry-level dungeon teaching combat fundamentals and awarding first relics
Cursed Catacombs
High-density dungeon with boss progression and soul crystal fragment rewards
Abyss Gate
Infinitely scaling nightmare dungeon with Legendary material and prestige rewards
Core Mechanics
Dungeons apply variable difficulty modifiers — enemy density, attack speed, HP multipliers, and environmental hazards scale with selected Abyss tier. Boss encounters within dungeons use modified attack patterns compared to their raid versions, often with additional phase mechanics. The surface dungeon Darkwood serves as an extended tutorial zone with fixed layouts and moderate difficulty progression. Difficulty modifiers apply across four axes when selecting an Abyss tier: enemy density directly affects how many simultaneous threats must be managed, attack speed modifies reaction window timing, HP multipliers determine encounter length, and environmental hazards introduce positioning puzzles that punish careless movement. Boss encounters within dungeons use modified attack patterns compared to their raid counterparts, often adding secondary phase mechanics that require different class tools to handle effectively. The Darkwood surface serves as an extended tutorial where fixed layouts allow methodical exploration without time pressure, making it ideal for collecting hero graves and hidden relics that provide permanent character upgrades.
Advantages
Understanding dungeon scaling lets you target specific tiers for guaranteed crafting rewards rather than maximally pushing danger. Surface dungeon completion provides everything needed to tackle initial Abyss tiers. Understanding dungeon scaling mechanics lets you identify your optimal farming tier — the highest tier where clear speed remains fast enough to maximize material drops per hour rather than simply the highest tier you can theoretically clear. Surface dungeon completion provides every permanent upgrade pickup needed to tackle initial Abyss tiers with full confidence. Dungeon-crawling builds that emphasize sustained AoE and survivability significantly outperform single-target raid boss builds in dungeon content, making a dedicated dungeon loadout a worthwhile investment of separate equipment and skill points. Efficient dungeon routing — knowing the fastest path to completion ignoring optional content — separates efficient material farmers from those who waste hours on low-value exploration.
Challenges
Abyss difficulty scaling is infinite — eventually no amount of gear pure damage solves encounters requiring mechanical mastery. The demo limits access to highest Abyss tiers until full game release. Abyss difficulty scaling has no eventual ceiling — every tier multiplies difficulty exponentially, meaning that eventually no amount of gear can substitute for pure mechanical skill. The Game Over penalty at high tiers becomes increasingly severe as death timers grow, potentially wasting invested attempts entirely rather than allowing quick retry. The demo restricts access to highest Abyss tiers until full game release, creating an artificial progression wall that cannot be overcome through character improvement alone. Additionally, some dungeon boss modified attack patterns feel distinctly unfair compared to their raid versions, requiring adaptation periods that extend total time investment per tier level.
Frequently Asked Questions
How does dungeon difficulty scaling work?+
Can I be dungeon-carrying other players?+
Quick Tips
Clear all Darkwood surface hero graves and hidden passages before pushing Abyss — they contain permanent upgrade pickups. — Complete all Darkwood surface hero graves and hidden passage exploration before pushing Abyss difficulty. These permanent ability pickups meaningfully improve your character baseline for every subsequent attempt and the time investment returns exponential value across all future content.
Diversify defenses at higher Abyss tiers — stacking single resistance is less effective than layering multiple damage reduction sources. — Layer multiple damage reduction and avoidance sources simultaneously at higher Abyss tiers rather than stacking a single resistance type. Stacking one stat suffers from diminishing returns while combining dodge chance, armor passives, and elemental resistances multiplies your effective survivability across all encounter types.
Soul crystal farming is most efficient at mid-tier Abyss — highest tiers have only marginally better drop rates with exponentially higher clear times. — Mid-tier Abyss runs provide the most efficient soul crystal farming return for invested time since highest tiers offer marginally better drop rates but require exponentially longer clear times. Optimize for drops per hour rather than maximum theoretical drop chance for the fastest crystal collection overall.
Plan a separate dungeon-crawling build from your raid boss build — sustained AoE matters more than single-target burst in dungeon content. — Develop a dedicated dungeon-crawling build that emphasizes sustained AoE damage output rather than relying on your single-target raid boss loadout. Encounter design differs substantially between the two content types, and a build optimized for one will underperform significantly in the other without appropriate adjustments.
Featured
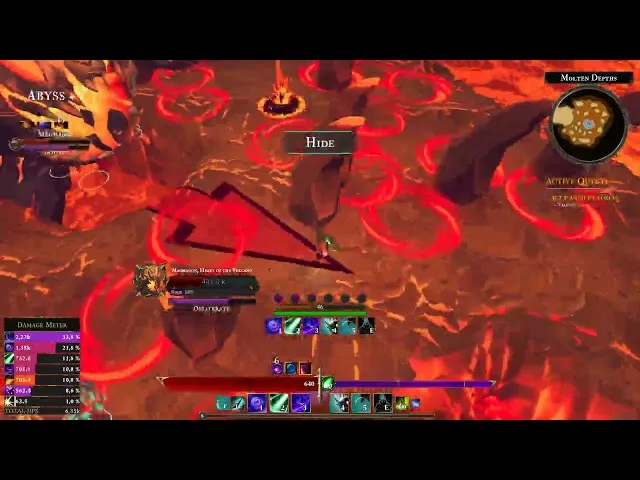
Sil and the Fading World abyss dungeons scaling guide
Descend endlessly with this Sil and the Fading World abyss dungeons guide covering difficulty scaling, reward multipliers, and prestige farming strategies.
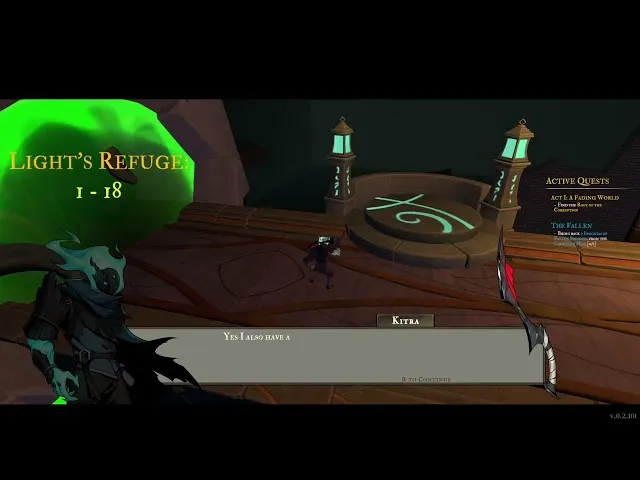
Sil and the Fading World dungeon enemies and boss guide
Clear every room with this Sil and the Fading World dungeon enemies guide covering enemy types, boss mechanics, environmental hazards, and group positioning tips.

Sil and the Fading World dungeon group strategy and co-op
Conquer together with this Sil and the Fading World dungeon group strategy guide covering co-op positioning, revives, shared objectives, and role coordination tips.
All Articles
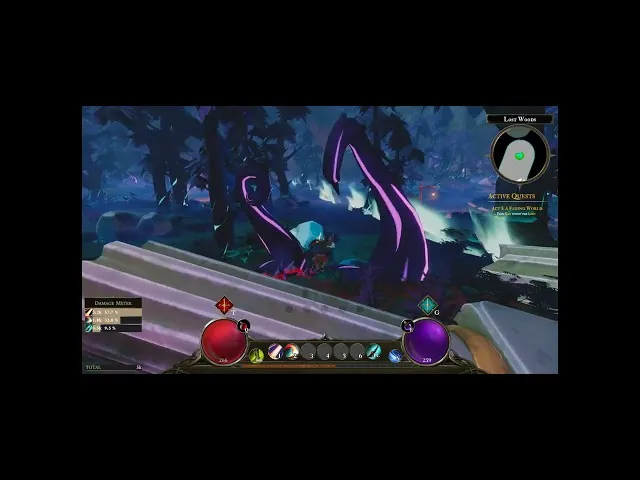
Sil and the Fading World dungeon secrets and hidden paths
Uncover Sil and the Fading World dungeon secrets including rush triggers, hidden resource nodes, environmental hazards, and patch additions you might have missed.

Sil and the Fading World dungeon timer and clear ranking
Race the clock with this Sil and the Fading World dungeon timer guide covering clear speed rankings, healing checkpoints, and mission optimization strategies.
Sil and the Fading World dungeon entrance locations guide
Navigate Aritas with this Sil and the Fading World dungeon entrance locations guide covering gates, hidden entrances, and route optimization for each run.